Hot Cross Buns
Hot Cross Buns
to your Favourites...

A seasonal classic comprised of a rich butter dough studded with soft fruit and generous spice. We have enhanced this recipe by using a water roux, which makes the buns superbly soft and light without becoming doughy or dry (as many supermarket versions tend to).
Ingredients
- For the Water Roux:
- 15g bread flour
- 75g water
- For the Hot Cross Bun dough:
- 190g strong white bread flour
- 50g plain flour
- 15g milk powder
- 40g caster sugar
- 3g salt
- 5g yeast
- 1 large egg
- 85g warm water
- 20g soft unsalted butter
- 5g mixed spice
- 60g raisins
- For the white cross paste:
- 20g plain flour
- 9g caster sugar
- 18g water
- For the sugar glaze:
- 20g caster sugar
- 20g water
Preparation Time: About 3 hours
Cooking Time: 15 minutes
Serves: 6 buns
Method
- First, make the water roux by putting the flour and water into a saucepan, and then gently heat it on the hob, stirring it all the time with a whisk. It will thicken to form a translucent paste that resembles a Victorian gentleman’s hair tonic or wallpaper paste (if you want to be precise, it should reach a temperature of 65°c).
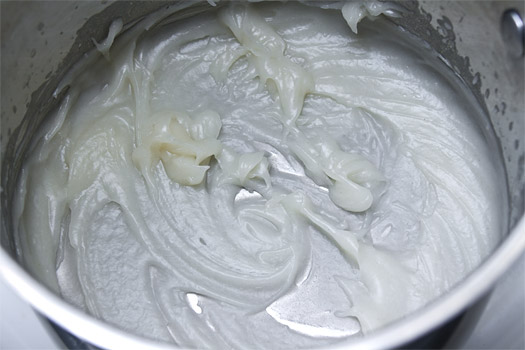
- Once you have made the water roux, cover the pan with cling-film/plastic-wrap and set it aside to cool to room temperature.
- In a bowl, weigh in the flours, milk powder, sugar, salt, dried yeast and mixed spice. Then mix them together.

- In a cup or small bowl, whisk the egg using a fork, then weigh 30g (about half) of it into the dry ingredients (keep the remaining half of the whisked egg as it will be used later to glaze the buns). Then add in the butter, the warm water and the cooled water roux.

- Using a spoon, mix everything together to form a rough sticky dough.

- Then its time to get messy (you are allowed to wear gloves). Scrape the dough out of the bowl and onto your immaculately clean worktop. Start kneading the dough by pulling the dough up and down using one hand as if it were a large piece of chewing gum (although, given the nature of this dough, you can just knead it any way you like/can). It will stick to the worktop. It will stick to your hands. It will be irritatingly messy but persevere as this process helps to develop and strengthen the gluten.
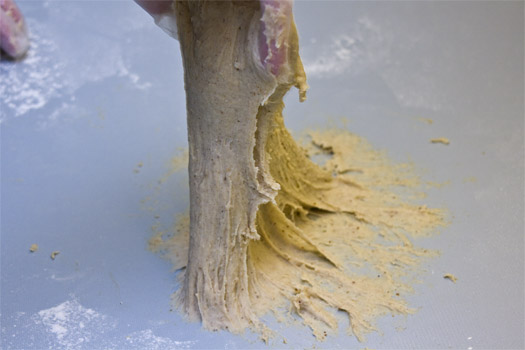
- Keep kneading it for about 10 minutes. The dough will actually begin to come together and start to release itself from the work top.

- Flatten the dough a bit and place the fruit on top of the dough.
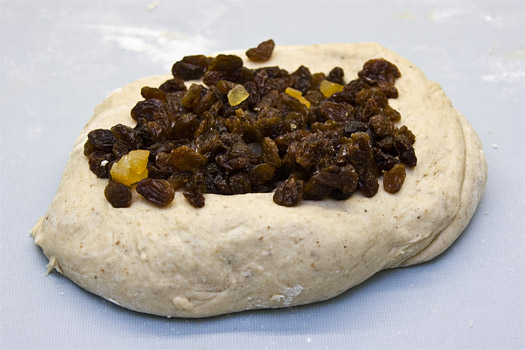
- Then fold the dough over, encasing the fruit, and gently knead it until the fruit is evenly distributed throughout the dough. Place the dough back into the mixing bowl.
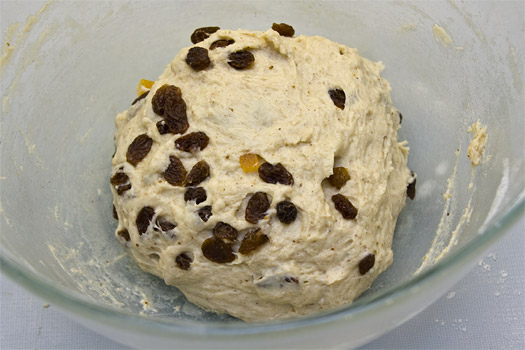
- Cover the mixing bowl with cling-film/plastic-wrap and leave it to rise for about an hour until it has doubled in size.
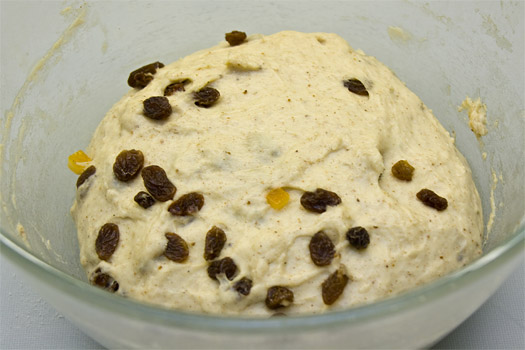
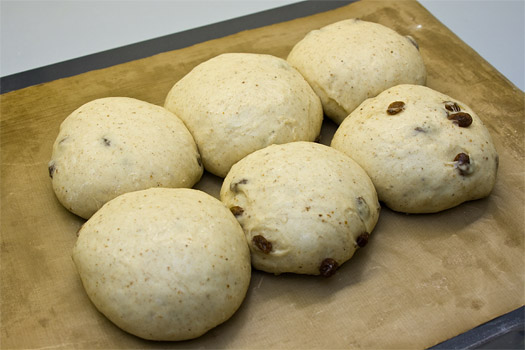
- After the dough has risen, tip it out on to a lightly floured work top. Then using a knife, divide it into 6 equal portions and roll each of them into round balls.
- Place the balls about 2cm apart on a baking tray lined with greaseproof/silicon paper or one of these clever non-stick mats like what we have.

- Loosely cover the balls of dough with oiled cling-film/plastic-wrap (so they have enough space to rise unrestricted) and put them in a warm place for about 45 minutes until they have doubled in size and are touching.
- Heat the oven to 200°c.
- After the buns have risen, remove the oiled cling film/plastic wrap and put the tray to one side while you make the piping paste.
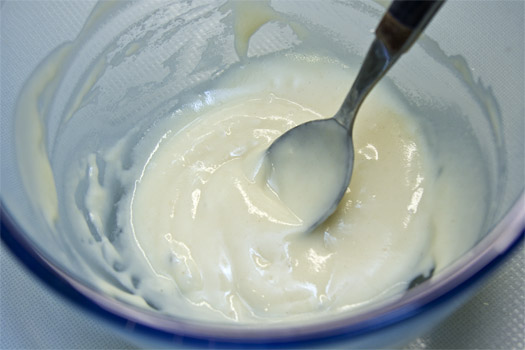
- In a small bowl combine the sugar, flour and water with a spoon so you have a smooth, lump-free paste. Now make a piping bag by either using a cone made from baking parchment or a plastic bag with the corner cut off. The piping bag needs to have a fairly small nozzle, roughly ½cm
- With the leftover egg, add 1 teaspoon of water to the cup and whisk it together. Then, using a pastry brush, brush the egg wash onto the tops of the buns.
- Press the side of a skewer into the tops of the buns to indent a cross (this gives the piping paste somewhere to sit and following the lines makes it easier when piping).

- As best as you can, pipe the paste one line at a time over the buns, there are no prizes for neatness. If you pale at the thought of piping, just use a teaspoon to spoon small amounts of the piping mixture into the cross indents.

- Don’t worry about any of the piping mixture running onto the tray as they will be removed after baking.
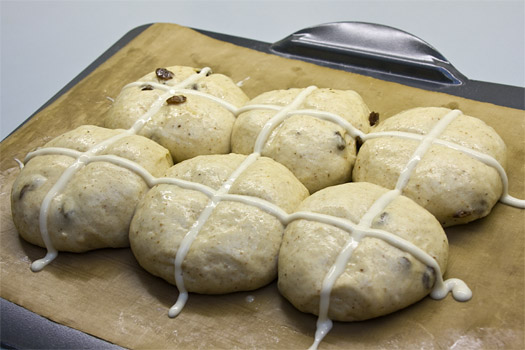
- Place the buns onto the middle shelf of the oven and bake for 15 minutes until golden brown.
- While the buns are baking, make the sugar glazing syrup. Put the water and sugar into a saucepan and heat it until it while whisking all the time. Once the syrup starts bubbling, boil it for a further 30 seconds and then set it to one side to cool.
- After the buns have come out of the oven, leave them on the tray to cool for 10 minutes before brushing on the sugar syrup glaze. Leave the buns to cool completely before diving into them!

- And there you have it, soft, moist and throughly delicious hot cross buns. Enjoy them toasted with plenty of salted butter.

Useful Information
Can it be frozen? Yes.
Can it be prepared in advance? Yes, they can be finished up to 1 week in advance.
Will leftovers be nice? Yes, for 1 week, providing you toast them before eating.
Notes
- Of course, you don’t have to pipe the cross on the top, it is a religious symbol after all, but if you celebrate Easter then its rather fitting. Any other time of the year, they make rather excellent tea cakes!
Sponsored Links

Recipe Options


Units of Measurement