Christmas Log
Christmas Log
to your Favourites...
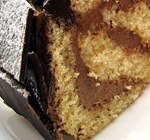
Christmas log, Bûche de Noël or Yule log if you prefer, is a traditional French dessert served, unsurprisingly, around Christmas time. The popular (but almost certainly wrong) origin of this dessert is that Napoleon I of France proclaimed households in Paris should keep their chimneys closed during winter in order to keep out the cold air and, not being able to use their fireplaces, this symbolic replacement was created.
Ingredients
- For the sponge:
- 220g plain flour
- 45g corn flour
- 3 teaspoons of baking powder
- 1 teaspoon of salt
- 220g caster sugar
- 3 eggs
- 150ml vegetable oil
- 150ml water
- For the sugar syrup:
- 100g water
- 100g caster sugar
- 100ml Frangelico hazelnut liqueur, Brandy, Kirsch or just water
- For the chocolate buttercream:
- 300g soft unsalted butter
- 250g icing sugar
- 15ml vanilla extract
- 200g dark chocolate
- For the chocolate decoration:
- 350g dark chocolate
Preparation Time: 35 – 40 minutes
Cooking Time: 15 minutes
Serves: 10 – 15
Method
- Heat the oven to 175°c.
- To make the sponge, weigh the plain flour, corn flour, baking powder and sugar for the sponge into a large mixing bowl.

- Separate the eggs so the yolks are in one bowl and the whites are in another. Weigh the water and oil into the bowl with the egg yolks and whisk them to a foamy consistency.

- Whisk the egg whites to the stiff peak stage.

- Pour the egg yolk mixture into the dry ingredient and, using a hand whisk, combine them together until you have a runny batter. Then fold the egg whites into the batter as gently as you can (but don’t worry about it too much).
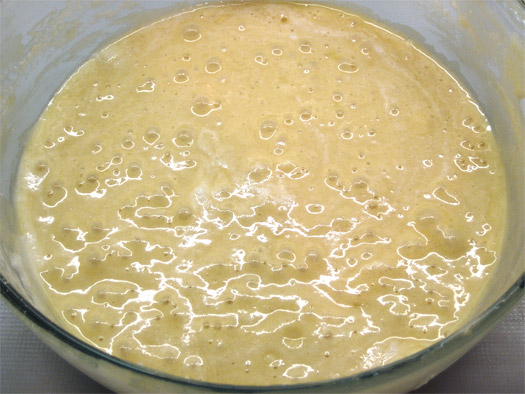
- Pour the cake mix onto an oiled baking tray lined with greaseproof paper or a silicon mat.
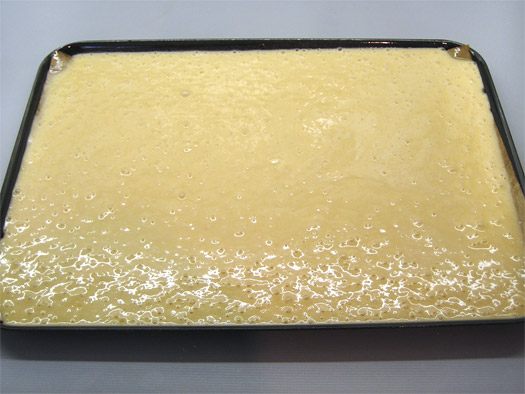
- Put the baking tray into the middle shelf of the oven and bake it for 15 – 20 minutes, until it is golden brown.
- While the sponge is baking, make the sugar syrup by placing the caster sugar and water into a saucepan and gently heat it until the two combine and have gone translucent. Then remove it from the heat and let it cool. When it is cool add the alcohol or water.
- When the sponge is cooked, remove it from the oven and allow it to rest for 3 minutes. Then sprinkle about 1 tablespoon of caster sugar over the sponge, put a sheet of greaseproof paper over it and, while firmly holding the greaseproof paper to the baking tray, turn the whole lot upside down and rest it on the worktop.
- Remove the baking tray and the sheet of greaseproof paper that used to be underneath the sponge and then soak the sponge with the sugar syrup. This will help with rolling up the cake later.

- To make the butter cream, place the soft butter and icing sugar into a large bowl and beat them together until it turns very pale and is very soft. Then add the vanilla extract and beat that in.

- Melt the chocolate in the microwave on low power or in a bain marie and then beat it into the butter cream (make sure the melted chocolate is not too hot).
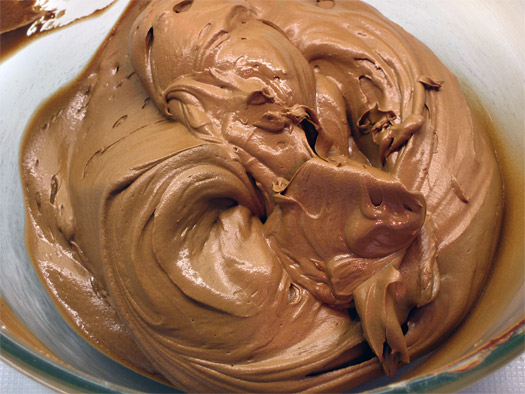
- Place half the butter cream on the sponge sheet and spread it out leaving a 2cm gap at the end (in case the butter cream is squeezed over it).

- Using the sheet of greaseproof paper, roll up the sponge. Take your time and don’t worry too much about any cracks as they will be covered up later.
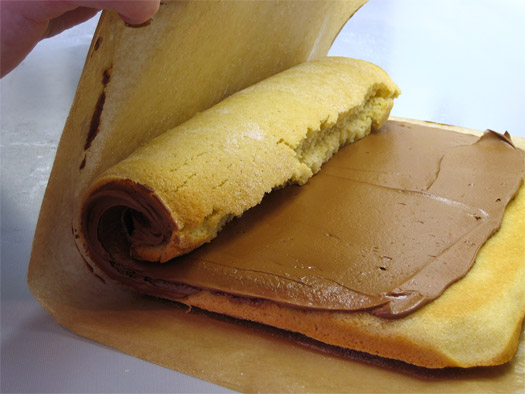
- When the cake is almost fully rolled, roll it onto a suitably sized serving dish.
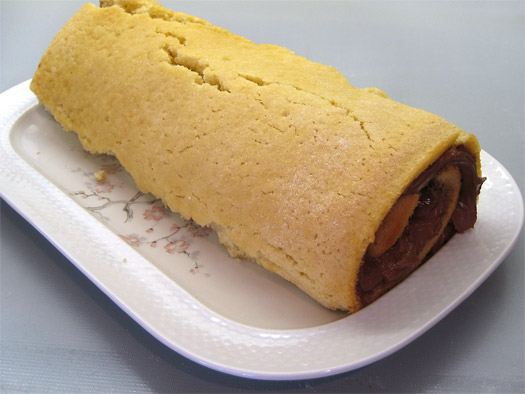
- Evenly spread the remainder of the butter cream over the top and ends of the cake so that it fills any cracks in the sponge.

- To make the decoration, melt the decoration chocolate in the microwave on low power or in a bain marie and then pour it onto a baking tray lined with greaseproof paper, cling-film/plastic-wrap or a silicon mat. Let it chill until it has set completely solid. Then turn out the chocolate onto a chopping board and break it up into shards for the “bark”.

- Stick the shards onto the cake so that they are overlapping and hiding the buttercream underneath.

- Using a cocktail stick or a fork, draw lines at the ends of the cake to represent the trees growth rings and then dust the top with icing sugar. If you want, you could further decorate the cake with holly leaves (but make sure they are clean and dry).
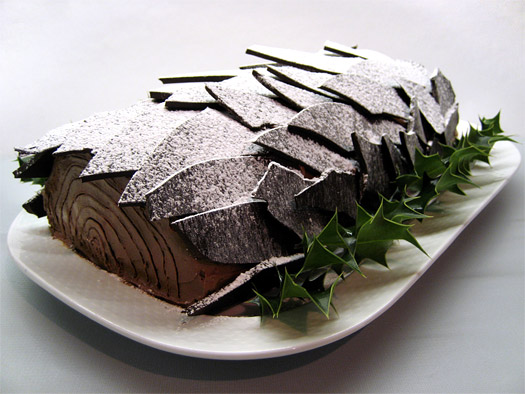
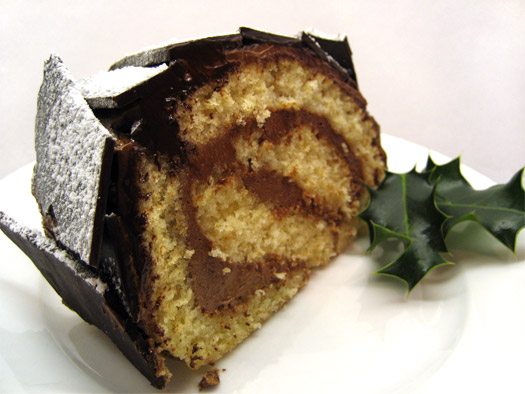
- After all that you can finally serve it. The easiest way to slice it is to heat a very sharp knife underneath the hot tap between each slice (this will melt through the chocolate and the cake) and to make sure that the cake is at room temperature. We served it with a couple of holly leaves. Don’t eat the holly.
Useful Information
Can it be frozen? Yes, for up to 1 month.
Can it be prepared in advance? Yes, it can be finished up to 1 week in advance.
Will leftovers be nice? Yes for up to 1 week if kept out of the fridge, 2 weeks if in the fridge.
Notes
- As an alternative, you could make a chocolate sponge by adding 50g of cocoa powder to the sponge mix and have a white icing by leaving out the chocolate for the buttercream.
Sponsored Links

