Chelsea Buns
Chelsea Buns
to your Favourites...

First created in eighteenth century London (in Chelsea no less), these spiralled buns are full of currents and cinnamon and make for a perfect snack. Best served with a cup of tea and an overwhelming sense of nostalgia for times long past.
Ingredients
- For the dough:
- 500g strong white bread flour
- 260g semi-skimmed milk
- 1 large egg
- 10g yeast
- 5g salt
- 50g butter
- 40g caster sugar
- For the crème patisseire:
- 3 large egg yolks
- 25g plain flour
- 30g caster sugar
- 15g vanilla extract
- 150g semi-skimmed milk
- 50g double cream
- 1 teaspoon ground cinnamon
- For the filling:
- 200g raisins
- For the glaze:
- 50g semi-skimmed milk
- 100g caster sugar
- 30g unsalted butter
Preparation Time: 3 hours
Cooking Time: 25 minutes
Serves: About 12 buns
Method
- Weigh all the dry ingredients for the dough into a large mixing bowl. Then mix them together.
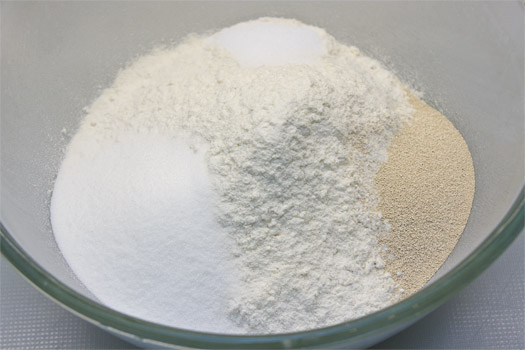
- Soften the butter in a microwave (or leave it at room temperature for about an hour until it has softened) and then add it with the milk and egg to the dry dough ingredients.

- Mix the dough ingredients together with a butter knife or wooden spoon until it has come together.

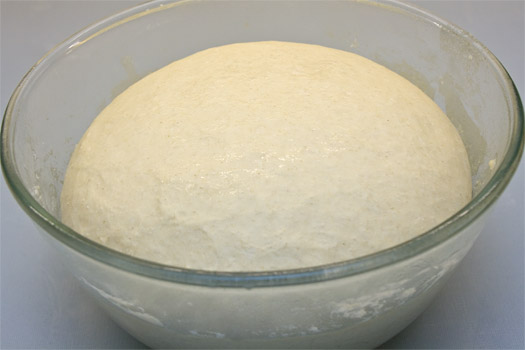
- Tip the dough out onto a floured work surface and knead it for about 5 minutes until it has become smooth, soft and elastic. Then put the dough back into the mixing bowl, cover it with cling-film/plastic-wrap, and put it in a warm place to prove until it has doubled in size, about 1 hour.

- While the dough is rising, weigh the sugar and flour for the crème patisserie into another large mixing bowl with the eggs and vanilla extract.

- Mix them together with a whisk, then pour in the milk and cream and whisk them together so the mixture is thoroughly mixed.
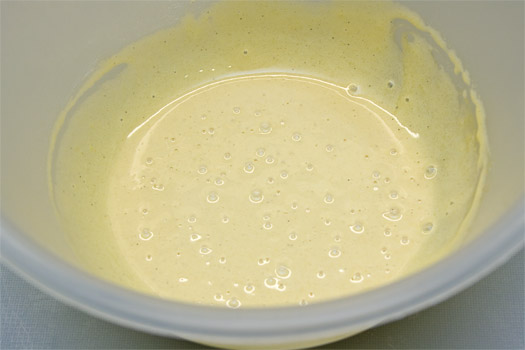
- Pour the crème patisserie mixture into a saucepan over a very low heat and stir it constantly while it heats up.

- The mixture will gradually thicken. When it has a texture similar to mayonnaise or thick custard (which is what it essentially is), take the pan off the heat and tip the crème patisserie mixture back into a clean bowl or dish.

- Cover the surface of the crème patisserie with a piece of cling-film/plastic-wrap (to prevent it forming a skin) and allow it to cool to room temperature. The mixture will continue to thicken and appear to set as it cools.
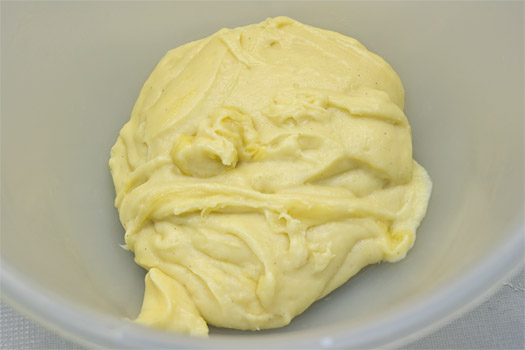
- When the crème patisserie has cooled, mix it using a stick blender or whisk, it should turn from a rubbery, jelly-like texture into a smooth, creamy thick custard again. Then stir in the cinnamon.
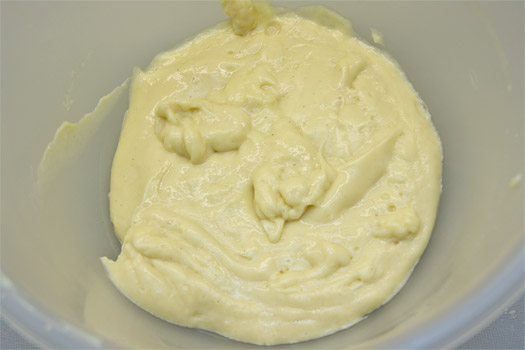
- After about an hour of rising, the dough should have doubled in size. Tip it out onto a lightly floured work surface.
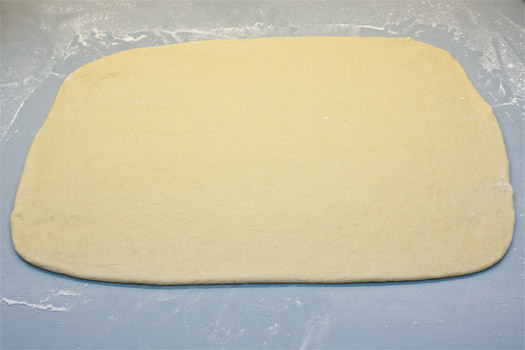
- Using a rolling pin, roll the dough out into a rectangle exactly 35cm by 50cm, any deviation from these dimensions means you have failed and will have to start everything all over again (just kidding, that’s just how big ours was, but you should aim for something similar).
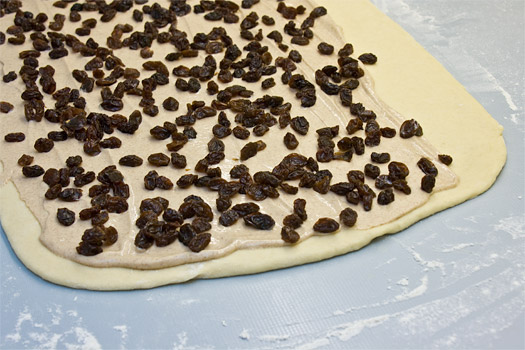
- When you have rolled out the dough, spread the crème patisserie out over the dough using a palette knife or butter knife, leaving a gap of about 3cm along the edge furthest away from you.

- Then sprinkle the raisins evenly over the crème patisserie.
- Beginning with the edge closest to you, carefully roll up the sheet of dough into a sausage, taking care not to put too much pressure on it (you don’t want to roll it loosely but you don’t want to crush it or squeeze out the filling either, we recommend rolling it "just right").

- Continue rolling until it is completely rolled.

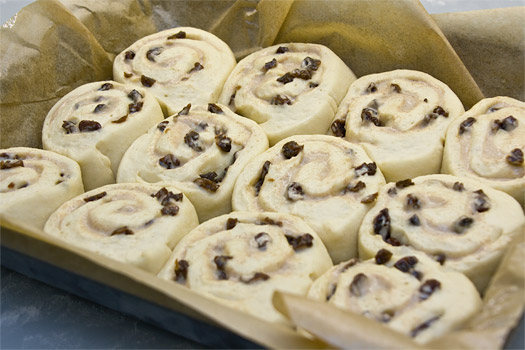
- Cut the Chelsea bun sausage into about 2cm thick slices. Put the slices into a large roasting tin or baking tray lined with greaseproof paper, leaving about 1cm of space between each one.

- Leave the buns to rise for about 30 minutes. By that time they should have expanded and be touching each other.
- While the buns are rising, heat the oven to 200°c.
- When the buns are ready, put them into the oven and bake them for 25 minutes.
- While the buns are baking make the glaze by putting the milk, butter and sugar into a small saucepan and heating them over a medium heat.

- Stir the glaze until the sugar and butter have dissolved and melted. Bring the glaze to the boil and boil it for about 1 minute, then take it off the heat.

- When the Chelsea buns are cooked, remove them from the oven.
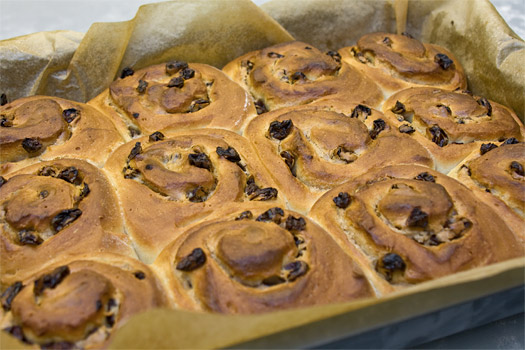
- Using a pastry brush, generously brush the buns with all of the glaze (they should be saturated with it). It may appear to be disastrously wet but have faith, they will absorb it all and it will set.
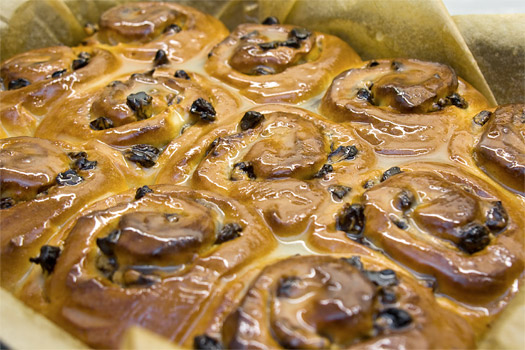
- Allow the glaze to set fully and the buns to completely cool to room temperature before tucking in.

Useful Information
Can it be frozen? Yes.
Can it be prepared in advance? Yes, they can be finished up to 5 days in advance.
Will leftovers be nice? Yes, for up to 5 days. Warm them for 5 minutes in a medium oven for best results.
Sponsored Links

Recipe Options


Units of Measurement