No-Knead Bread
No-Knead Bread
to your Favourites...
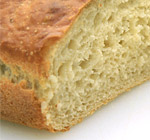
This is probably the best bread recipe ever conceived and, in fact, could possibly be one of the best recipes on this website. It is so ludicrously simple and requires such little effort that you may never need to buy bread again. Not only does it taste infinitely better than anything you can buy in a supermarket, but it also costs about half as much and only uses 4 ingredients, as opposed to the 14 or so that an average supermarket loaf contains.
Ingredients
- 500g strong white bread flour
- 10g dried instant yeast (we recommend Doves Farm Quick Yeast)
- 7g salt
- 400ml cold water
Preparation Time: 10 minutes (and 12 hours proving and 1½ hours second rise)
Cooking Time: 35 minutes
Serves: about 14 slices
Method
- Weigh out all of the dry ingredients into a large mixing bowl. (If your yeast needs activating in water, follow the instructions on the packet and subtract whatever water you need to use from the 400ml water listed above. Then add it with the rest of the water in stage 2.)
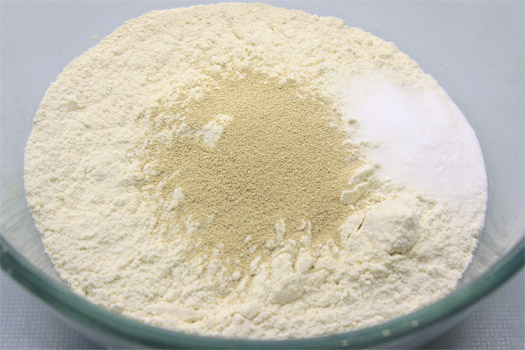
- Mix the dry ingredients together so the salt and yeast are evenly dispersed throughout the flour, then add in the water and mix it all together (don’t worry too much about any small lumps of flour).
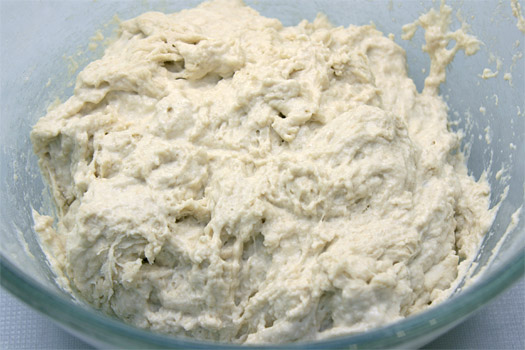
- Cover the bowl with a piece of oiled cling-film/plastic-wrap and put it into the fridge so that it can prove for, ideally, 12 hours. (The dough can be proved in the fridge for any time between 10 and 16 hours, we normally make the dough during late evening and then prove it overnight.)
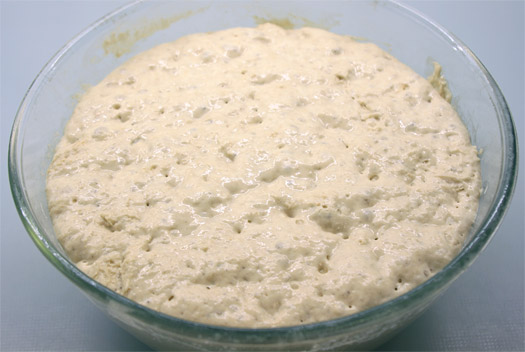
- After the 12 hours, take the bowl out of the fridge and remove the cling-film/plastic-wrap. The dough should have doubled in size.
- Tip/pour the dough out onto a well floured work surface, using your well floured fingers to scrape the dough out of the bowl.

- Fold the dough in half...
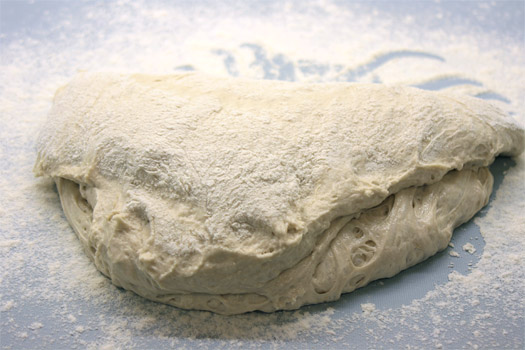
- ... then fold over a third of the dough in the other direction...
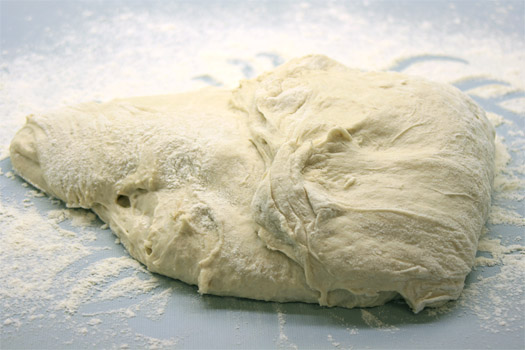
- ... then fold the other third over...
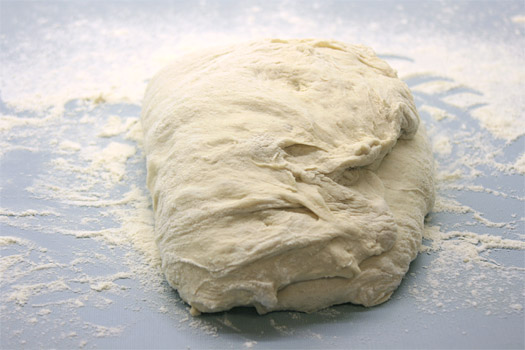
- ... and turn the dough over.
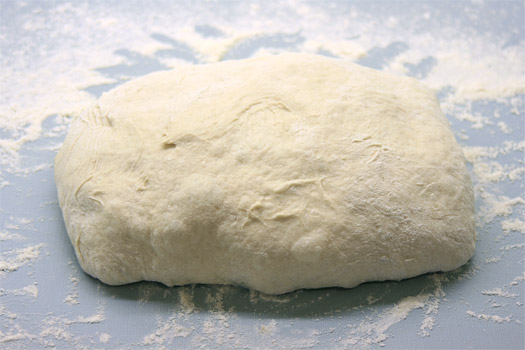
- Put the dough into an oiled baking dish or bowl or loaf tin or any other oven proof receptacle.
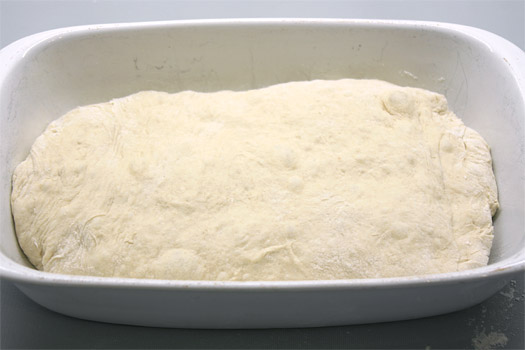
- Cover the dough with a piece of oiled cling-film/plastic-wrap and leave it at room temperature to rise until it has doubled in size (about 1 hour and 30 minutes).
- Put a baking tray into the bottom of your oven, put an oven shelf into the middle of the oven and then heat the oven to 230°c.
- When the dough has risen and the oven is up to temperature, take off the cling-film/plastic-wrap.
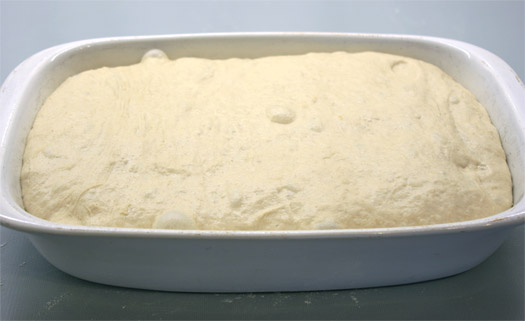
- Fill a cup with about 150ml water.
- Open the oven door, put the dish with the dough into the oven on the middle shelf, then chuck the water into the baking tray at the bottom of the oven and quickly close the oven door (this forms steam that helps to quickly form the crust). You may need to hold the oven door shut for a few seconds to prevent the steam escaping.
- After 10 minutes, turn the oven down to 200°c and continue to bake the loaf for a further 25 minutes.
- When the loaf is cooked, take it out of the oven, put it onto a cooling rack and allow it to completely cool to room temperature.

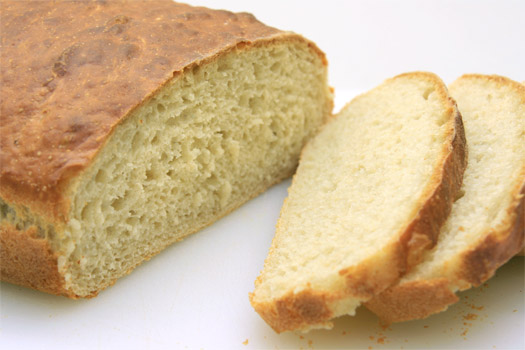
- When the loaf has cooled, slice it and enjoy!
Useful Information
Can it be frozen? Yes.
Can it be prepared in advance? Yes, it can be finished up to 12 hours in advance.
Will leftovers be nice? Yes, for up to 4 days, but it's never as good as when fresh.
Notes
- Because the dough spends 12 hours proving, it is effectively doing the kneading for you (kneading just develops the gluten in the flour, which is exactly what proving the dough does; manually kneading just speeds up the process).
- Despite the long time required to get the final loaf, the amount of time you need to spend actually doing something is very short (we have successfully managed to make the dough during an ad-break while watching TV, and the same goes for shaping the dough the next day). This makes this bread recipe easy to fit into a busy lifestyle.
Sponsored Links

